What is Crystal Malt?
 Crystal/caramel malt is used to add color, body and sweetness to beer. Commercially-produced crystal malts are sold at specific color levels ranging from 10 Lovibond to over 150 Lovibond. Common levels are 10, 40, 75, 80, 120 and 130 (also known as Special B).
I took my first shot at making crystal malt at home recently. The result came out pretty well, thought I was a bit heavy-handed with it in the beer I made. The flavor was much subtler and sweeter than any of the commercial crystal malts I’ve tried so far. It could be due to its freshness, as I brewed with it six days after making it.
Commercial producers start with green malt, immediately after it is germinated to produce base malt. The temperature is raised to mashing temperature to allow the starches to convert to sugar, then the temperature is raised again to roasting temperature to allow the sugars to caramelize within the grain husks.
Once the desired roasting/color level is reached, the grain is removed from the roaster and cooled.
Rehydrate the Grain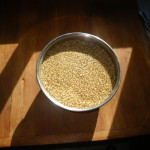

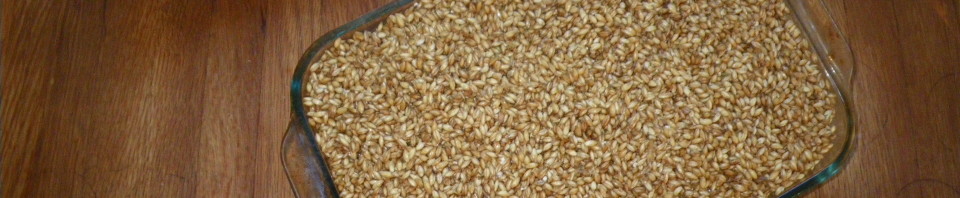
Since I did not have green malt available, I started with pale ale malt. I measured out three pounds of grain, placed it in a bowl and added enough cool water to cover the malt.
I pressed plastic wrap against the surface of the grain to prevent the top from drying, then allowed the malt to rest for six hours to rehydrate. About three hours in, I noticed the water level had dropped so I added water so it was level with the top of the grain again.
Mashing / Converting
 What makes beer sweet is the process of mashing. This allows the enzyme within the grain to convert all of the starch into sugar. This happens in nature to provide sugar to the growing plant until photosynthesis can begin. Brewers take advantage of this to produce the sugars in beer to feed the yeast, which results in alcohol and carbon dioxide.
The base malt filled a 9×13 pan. After covering the pan with aluminum foil, I inserted a temperature probe to monitor the temperature at the center of the mass of grain.
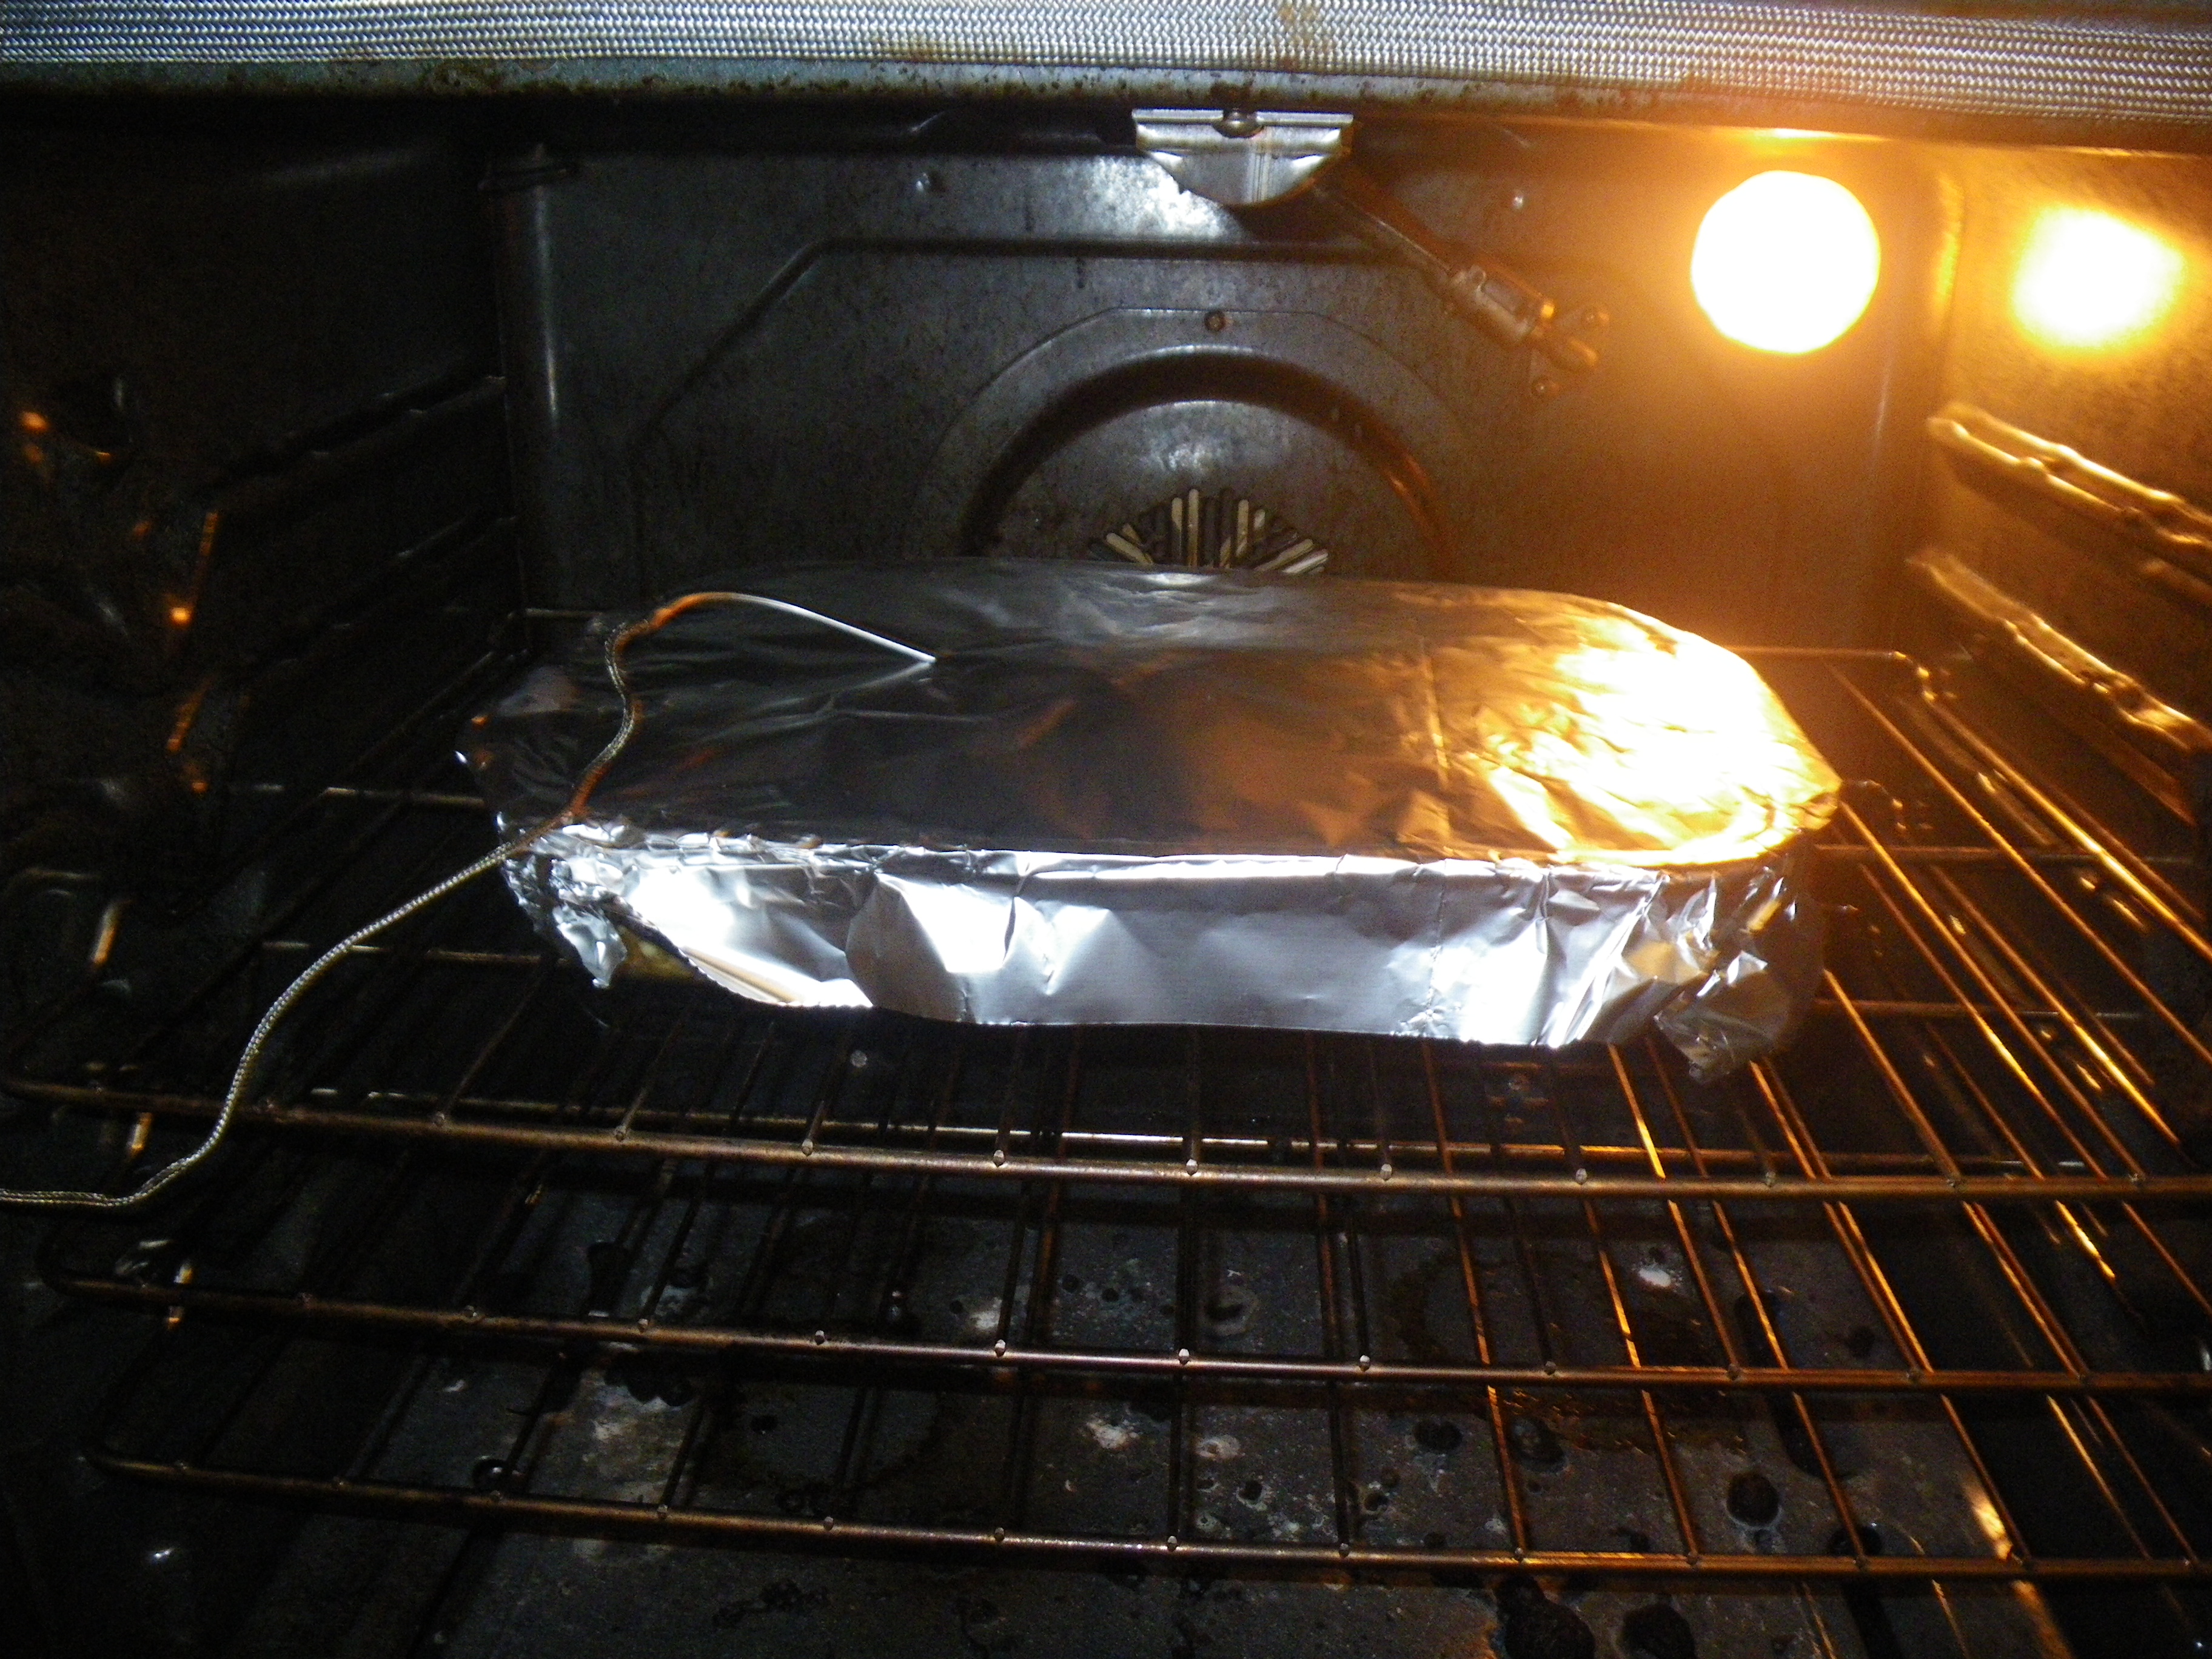 I set our oven to 170 degrees Fahrenheit using the convection setting to allow a more even temperature distribution. Once the grain rises to 145 degrees, I set a timer for one hour and monitor the temperature. When it reaches 155 F, I turn off the oven and allow the temperature to coast to 160 F.
Dry the Malt
 In order to roast the malt effectively, you need to remove most of the water you added to activate the enzymes. At this point, I transfer the mashed grain into trays in our food dehydrator and set the temperature for 165 F. The dehydrator ran for about 9 hours (overnight and into the morning).
In order to increase airflow, and still catch any of the sweet, sugary goodness that might drip from the grains, I alternated solid trays to catch the drippings with mesh screens to allow the air to flow up through the grain.
With the proper ratio of water, meaning there wouldn’t be any extra liquid in the mashing vessel, I would recommend using only the mesh screens for maximum airflow. This would allow your grain to dry more quickly and efficiently.
Roast the Malt
 As you can see, this batch had a bit too much water in it, which resulted in large caramel pieces in the dehydrator trays. This means a lot of the sugar created above leaked out of the grain. Next time, I won’t worry about the second water addition.
The final stage would be to roast the grain in an oven, if you desire. I skipped this step and wound up with a light-colored caramel malt. Set your oven to 350 degrees Fahrenheit and roast your malt from 10-60 minutes. The longer you roast it, the darker the malt will become.
Darker crystal malts will impart a deeper red color and a stronger flavor. As colors darken, the flavors will change from sweet caramel to raisin, dark fruit flavors.
Try creating your own crystal malt customized for your next recipe. It’s an interesting spin on mashing.

One thought on “Making Crystal Malt at Home”