Oak Leaf Wine

Inspiration

I have been homebrewing for almost five years now, and in my first year I heard about oak leaf wine. Members of my homebrew club raved about an oak leaf wine a previous member had made and brought to a club meeting. It was so smooth, and the flavor reminded them of a mild bourbon.

All these voice around me talking about how wonderful this libation was, yet I was unable to find anyone who had made it. And there was no way to get a sample. So I did the only thing a homebrewer could do: I did some research and made some myself.

Information

Oak Leaf Wine
One week into fermentation. You can see my rhubarb wine in the next carboy.

After spending months searching on the Internet, it seems like this is the most common recipe, from Jake Keller’s web site. I read about eleven different sites, and they all pretty much plaigerised Jack’s recipe, so it must be pretty good. The one deviation I remember called for four pounds of sugar rather than three. That sounds like some pretty good deviation.

Based on my reading, I developed my own recipe with a few goals in mind:

  1. Oak leaf wine reminded people of bourbon. Therefore, higher alcohol is appropriate.
  2. I wanted to have more consistent measurements than x number of z citrus fruit.
  3. I wanted to keep the batch small enough to fit in a five-gallon carboy but larger than one gallon.
  4. I needed to use oak leaves from our home’s yard.

As a result, I came up with the following recipe

Jake’s Oak Leaf Wine

  •  4 gallons tap water
  • Approximately 4 gallons of white oak leaves. I wanted to weight them, but the only scale large enough to have a visible screen with a stock pot on it measure in half-pound increments. So there is somewhere between 1.5 and 2.5 pounds of leaves.
  • 1 Tablespoon citric acid
  • 1 Tablespoon malic acid
  • 15 pounds sugar – I bought a ten-pound bag and a five-pound bag.
  • 5 campden tablets
  • 2 teaspoons yeast nutrient(1/2 teaspoon per gallon)
  • 1 sachet Montrachet wine yeast

As an aside, I took pictures of the entire process, but when I tried to download them my digital camera corrupted the files so all I have are pictures of the fermentation.

I picked the oak leaves from a Burr oak tree in our front yard. There were some low-hanging branches that needed to be removed to allow better movement under the tree, so I clipped those and picked the leaves into a 5-gallon stock pot, which I filled approximately to the level of the handle rivets.

After picking, I filled the stock pot with cold water and let the leaves soak for a bit to loosen dirt and bugs. Actually, I needed a break while I ate lunch, so I let the leaves soak. The dirt and bugs just sounds like a good justification. After lunch, I made sure to agitate the leaves well in the water and rub them together as I took them from the water, pulling small amounts at a time(5-10 leaves).

Allowing the leaves to stop dripping, I transferred them to a clean container.

I brought the water to a full, rolling boil and lined the pot with my large strainer bag. I then added the oak leaves and allowed the water to return to a boil. I turned off the heat, pushed the leaves below the surface of the water, and placed a lid on the pot.

I left the pot alone for 24 hours.

I added the sugar to the pot and stirred to dissolve.

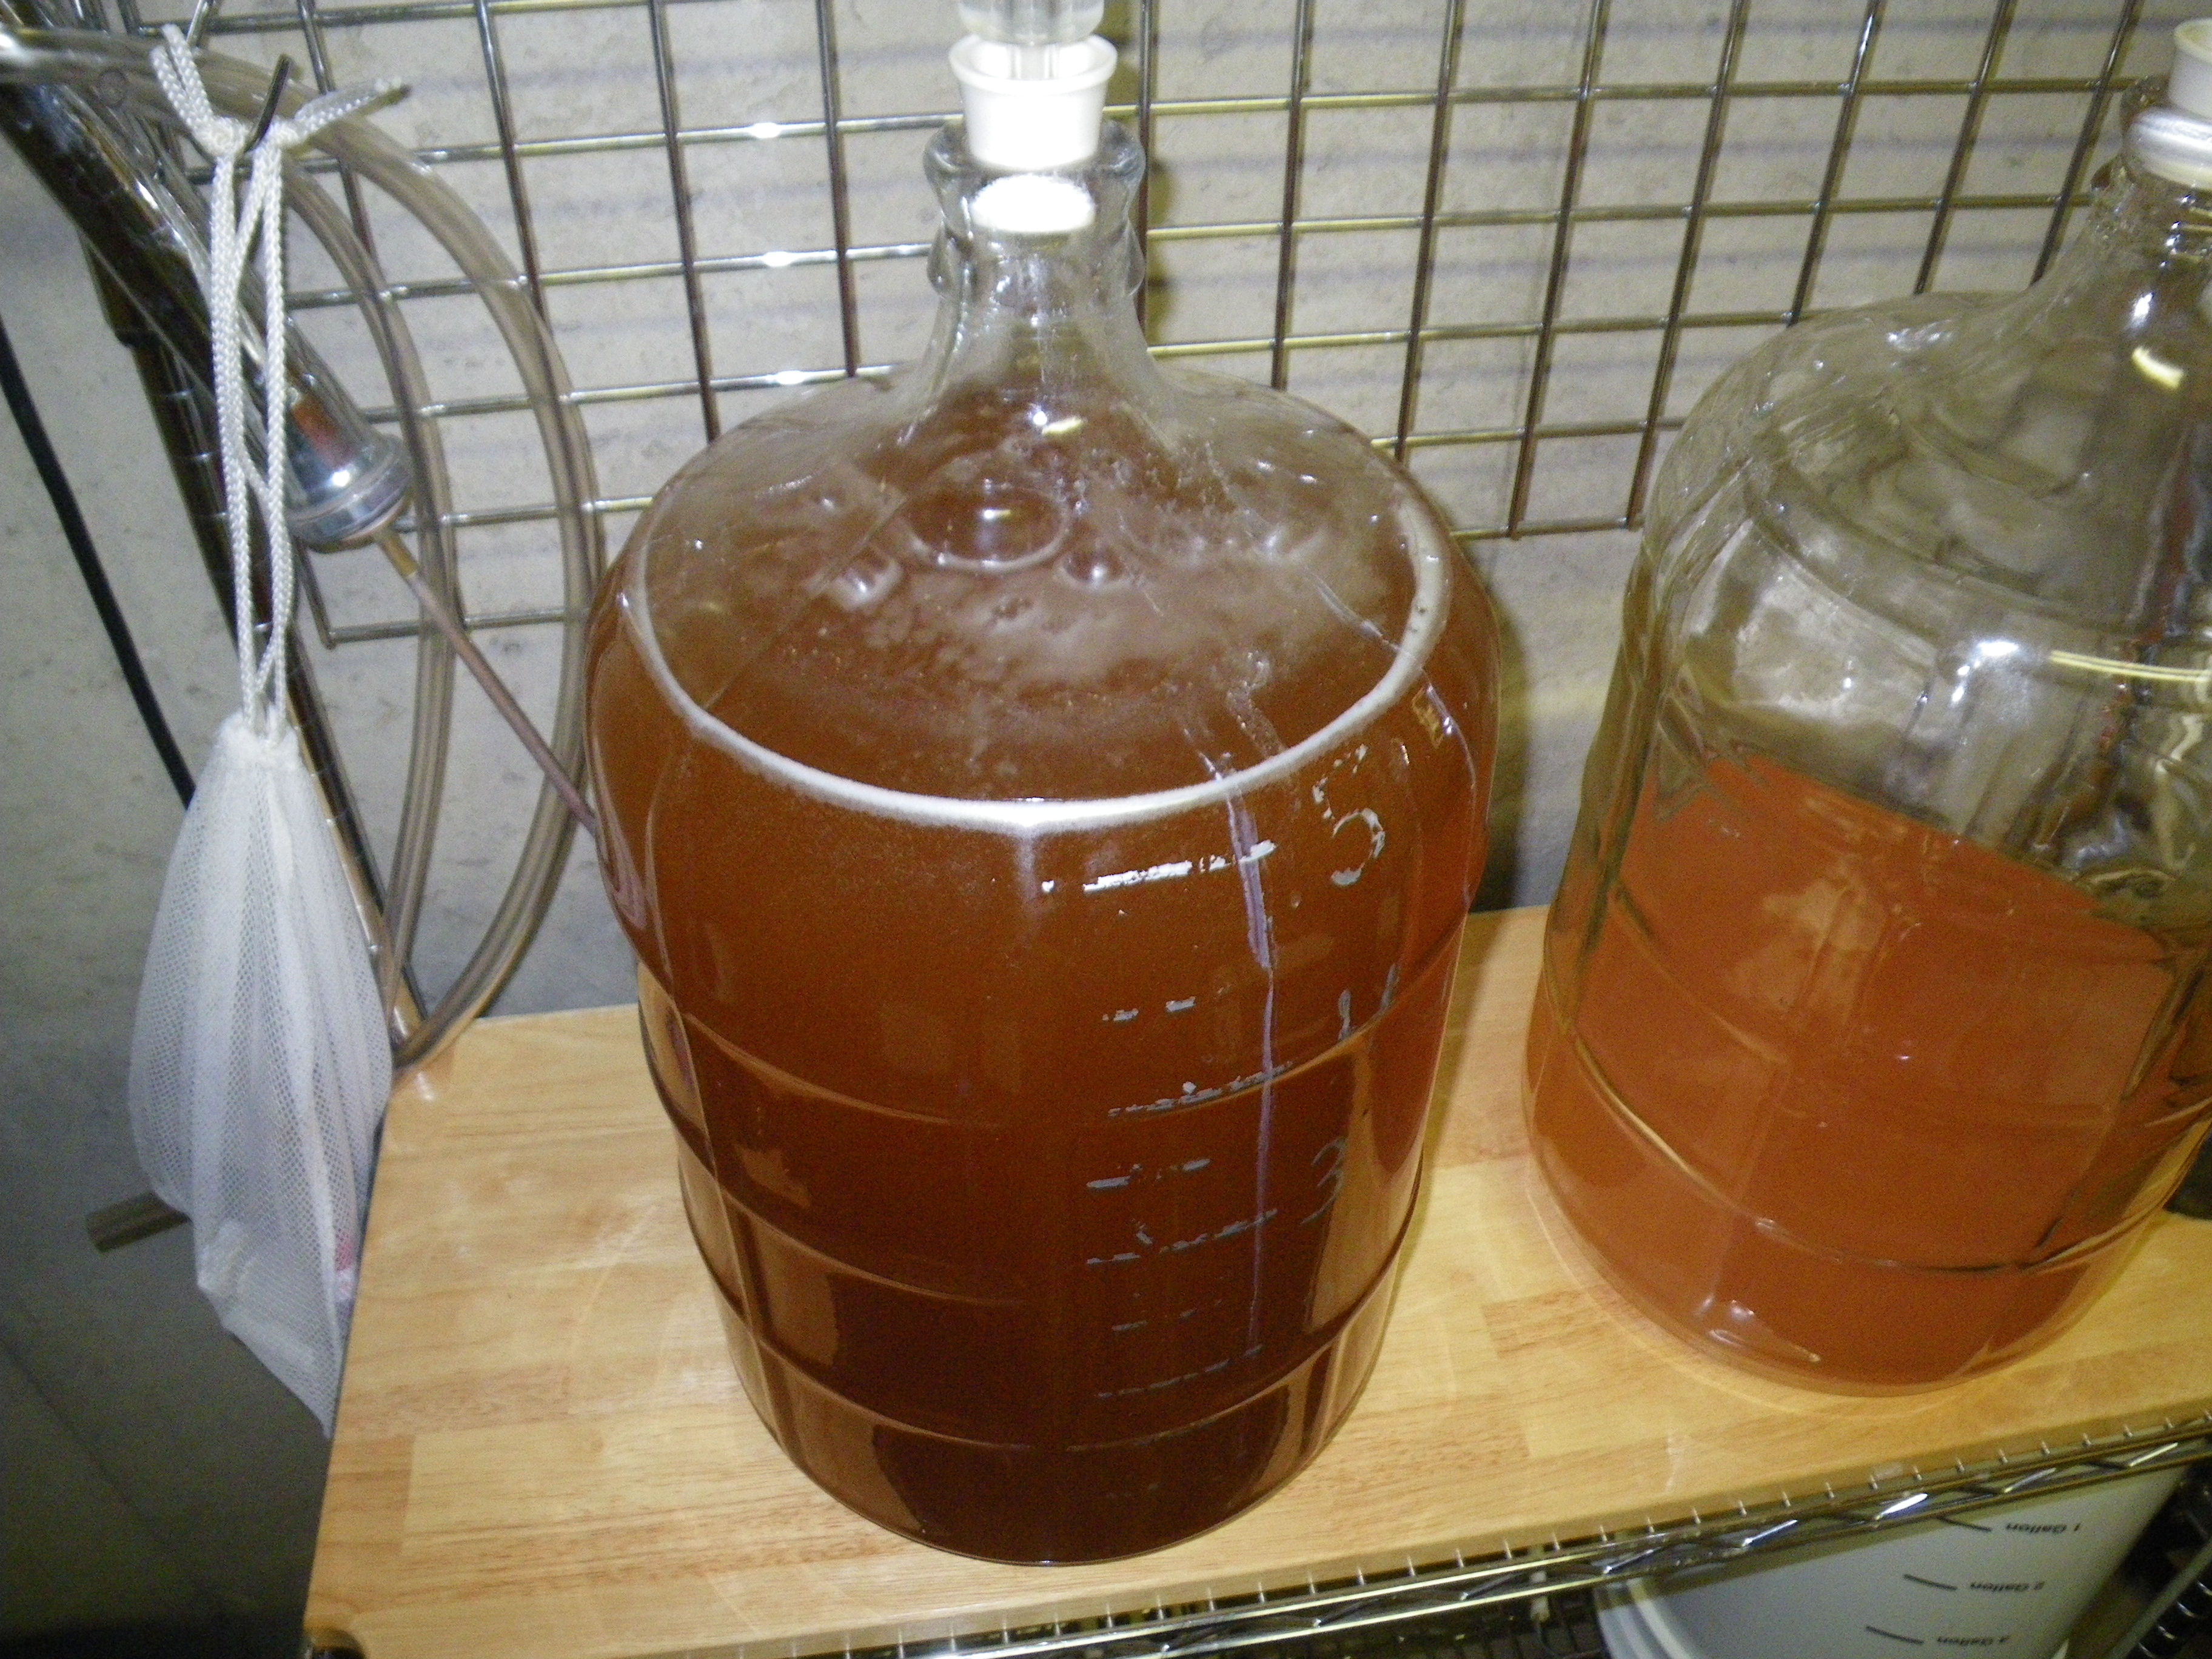
I drained the pot into a five-gallon carboy.

[notice]Warning: fifteen pounds of sugar adds almost a gallon of volume, so be careful when selecting your volume. Make sure your vessels are large enough.[/notice]

In a glass measuring cup, I placed 1/2 cup water and added the crushed campden tablets and yeast nutrient. Then heated in a microwave to aid is dissolving. Add the campden/nutrient mixture to the carboy, cover with a cloth towel to allow the mixture to off-gas and let rest for 24 hours.

Fill a sanitized container with approximately 1/2 cup warm water and reconstitute the wine yeast. Allow to proof and begin to foam. After stirring to re-suspend any yeast stuck to the container, I pitched the foamy slurry the wine must.

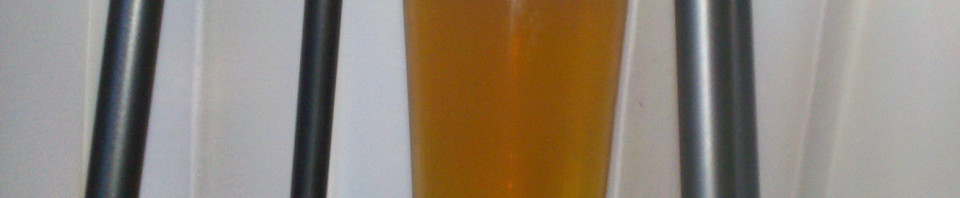
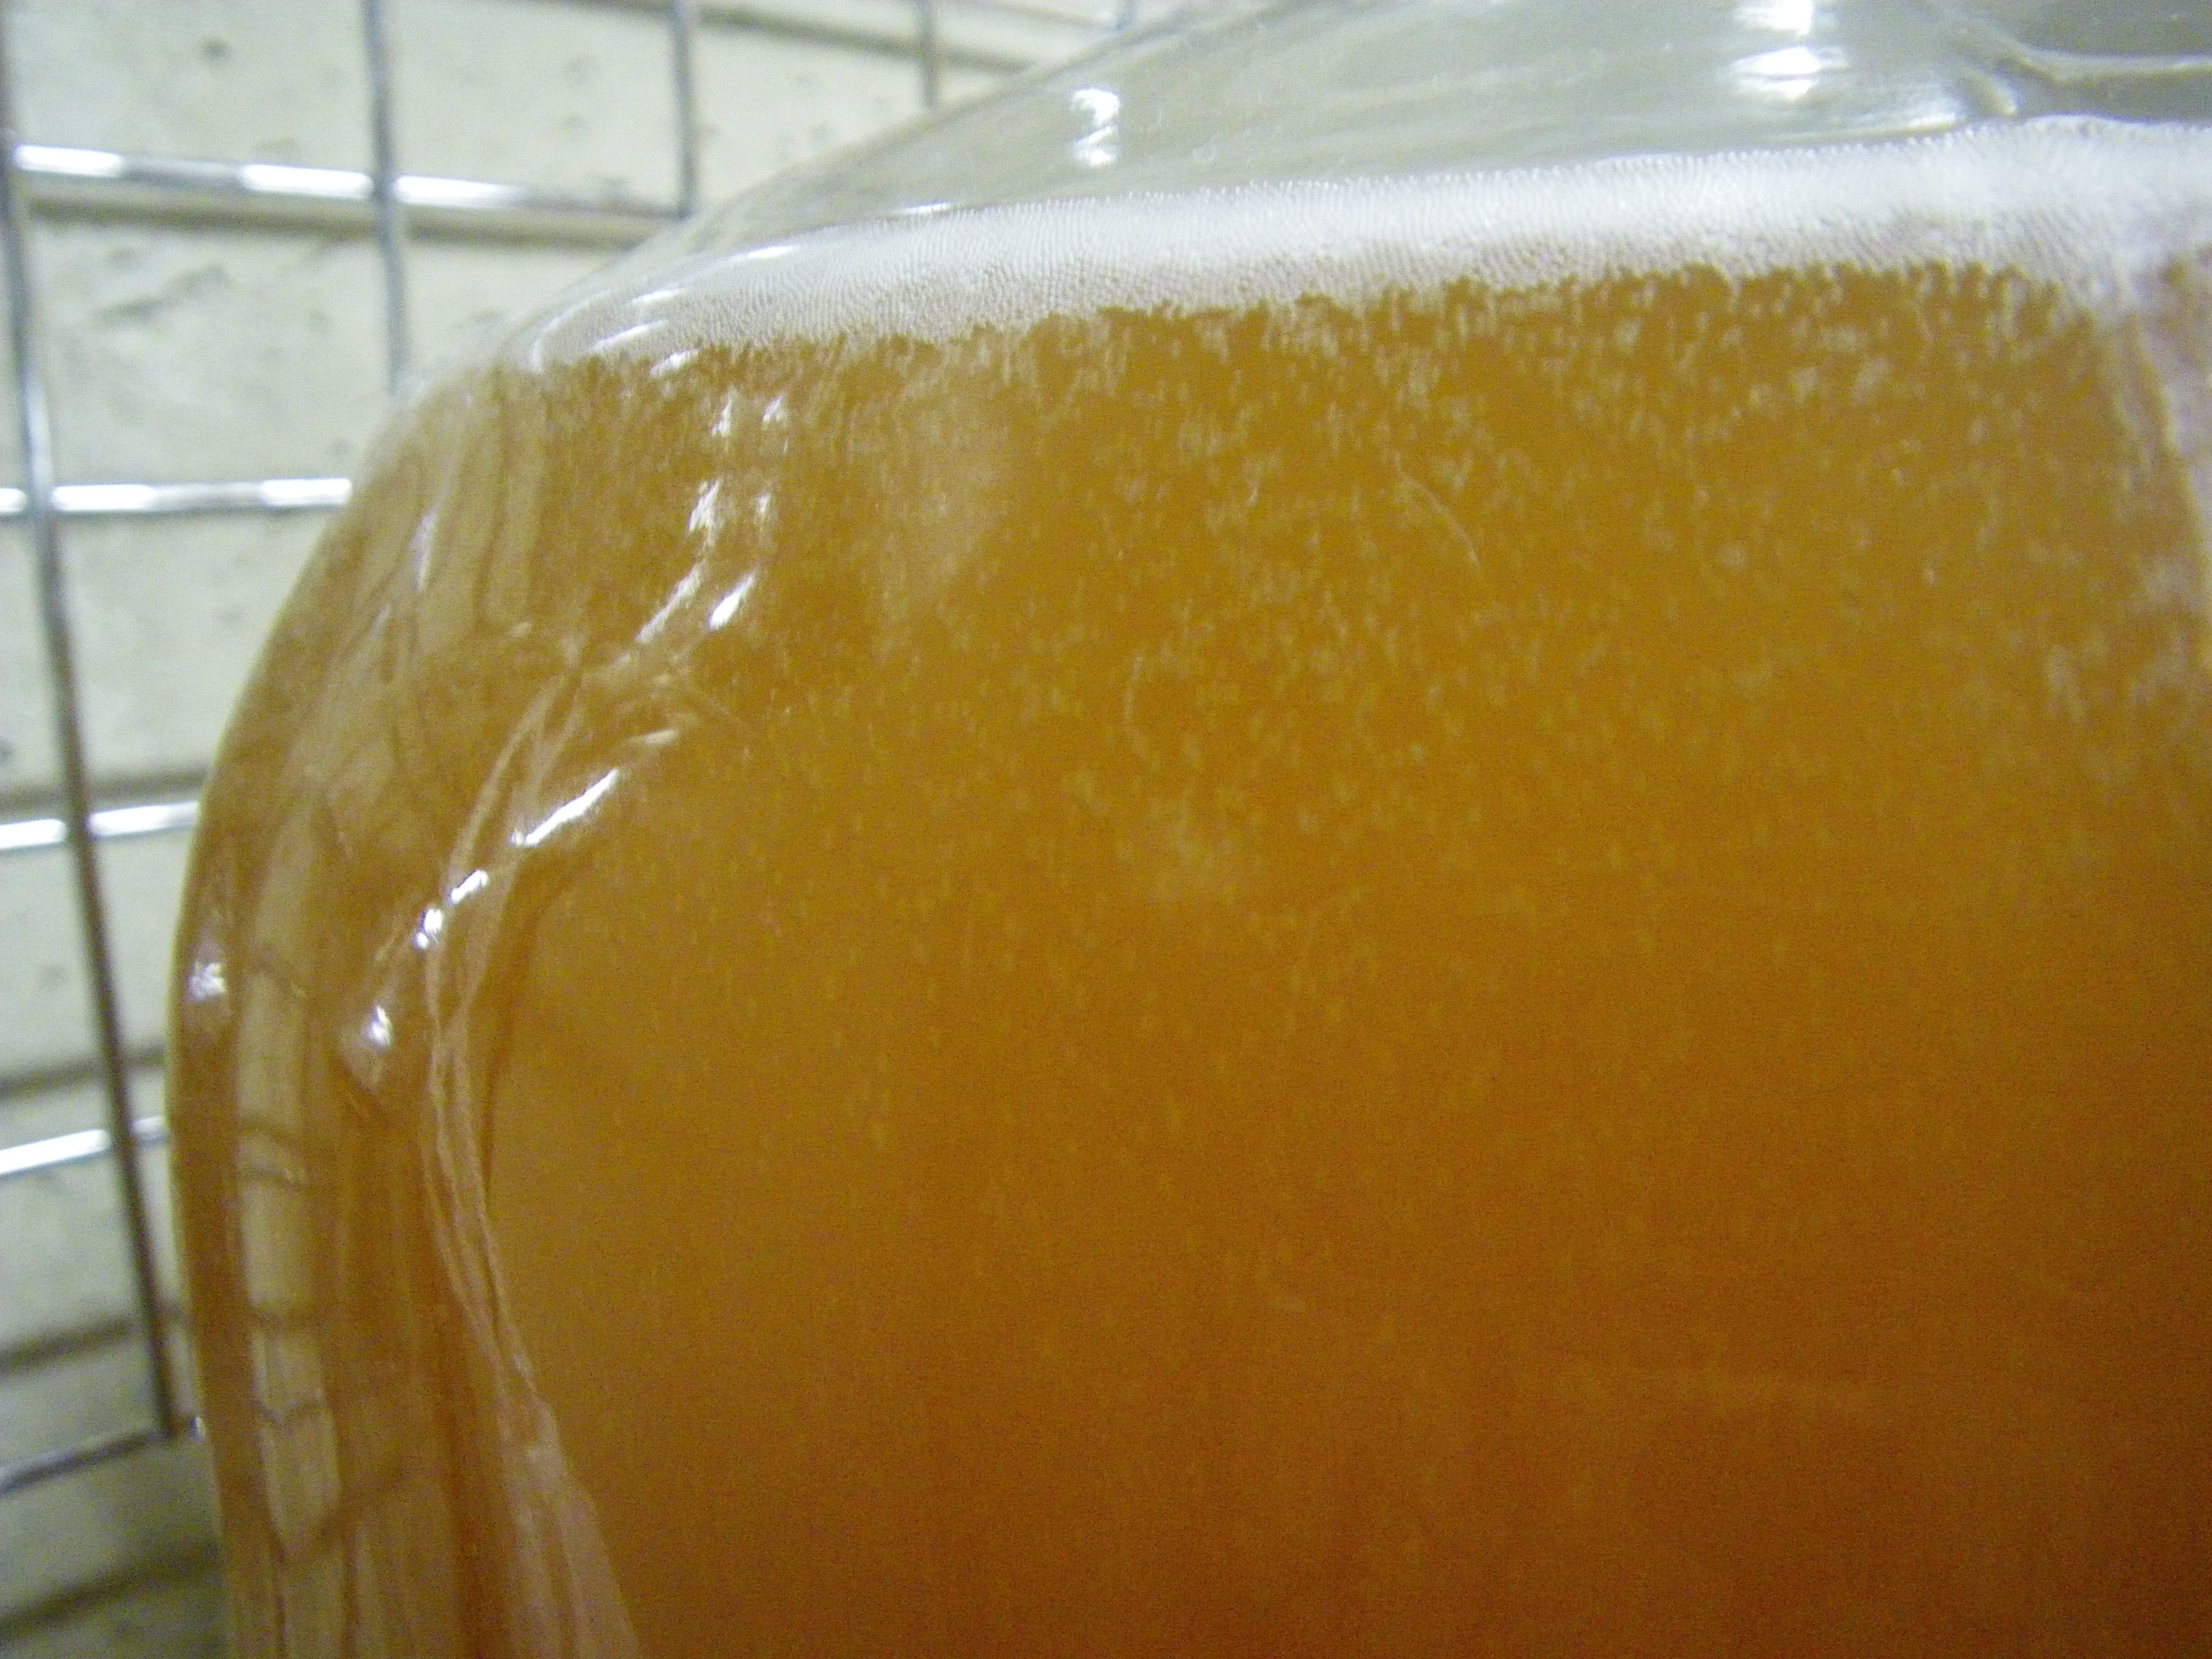
After adding the yeast, it took nearly two days before I noticed pressure on the airlock. I was starting to get a bit nervous, but you can see nice fine co2 bubbles rising in the pictures of the carboy. I’m hoping for the best.

Initial Thoughts

Active Fermentation
Happy yeast make alcohol and carbon dioxide!

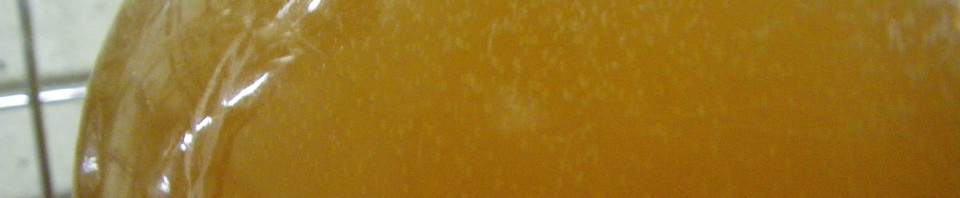
When I first transferred the liquid to the carboy, it was the color of very strong tea, nearly coffee-colored. After pitching the yeast, there was a noticeably lighter portion at the top of the carboy.

As the yeast mixed and began fermenting, particles have dropped to the bottom of the carboy and the color has lightened to the color of iced tea.

I tasted my hydrometer sample and it reminded me of overly-sweetened, weak tea. As the sugar gets fermented out, my hope is that the tannic, subtle flavors are brought to the forefront.

It has been fermenting for two weeks, and the rate of bubbling seems pretty consistent. I’ll be racking it to secondary in mid-September. Maybe I’ll sneak a sample then.

What’s the weirdest thing you’ve ever fermented?

Summer Refreshment

Drink Up!

American Pale AleCitrus with pungent pine washed over my senses, refreshing my taste buds and awakening my sense of aroma. As the hop flavors faded, followed by a bready malt flavor that faded quickly with a dry finish.

Some hop flavor lingered, and as it faded, it seemed to coat my tongue almost candy-like.

My first low-alcohol beer turned out rather well. Friends commented on the fact it is a nice, light color that may not scare off people used to drinking light lagers. Members of my homebrew club, serious beer enthusiasts said they enjoy it as well.

The Vision

My attitude going into developing this recipe was to create a light, refreshing, low-alcohol ale so I could have more than one without being unable to function. No caramel/crystal malts were used, and the bulk of the hops were added at flameout to keep the hop flavor without overwhelming bitterness.

Like stepping into spring water deeper than expected, a surprising burst of refreshment to wake you up and enliven your senses. This pale ale was made to pack a lot of flavor in a light, crisp package. I hope you enjoy.

Flash Flood American Pale Ale

My system is for brewing 10 gallons. If you wish to replicate this recipe on a 5-gallon scale, you should be good to cut quantities approximately in half. My system is approximately 67% efficient. If you use brewing software, you should be able to scale the recipe as needed to match your system.

Grain Bill

4.990 kg Rahr 2-row pale malt

907 g Briess Vienna malt

1.361 kg Munich 20L malt

Hops

Centenniel 8.7% AA 28 g at 60 minutes

Centenniel 8.7% AA 14 g at 0 minutes

Chinook 11.7% AA 21 g at 0 minutes

Cascade 6% AA 21 g at 0 minutes

Yeast

Safale US-05 fermented at 66 degrees F

Target Numbers

Target Volume: 12 gallons

Target OG: 1.034

Target FG: 1.008

Target ABV: 3.3%

Mash Temp: 154 F

Actual Numbers

Volume: 13.5 gallons

OG: 1.032

FG: 1.004

ABV: 3.68%

Mash Temp: 149 F for 50 minutes

Batch Sparge to reach 168 F at target volume

I ran into a few problems with this batch: I am still not used to using a ball-valve and tube to transfer to my mash tun, so I lost more heat than expected. My mash temp came in 5 degrees Fahrenheit lower than my target, but I think that helped develop a clean finish.

The other problem was the humidity prevented my normal amount of boil-off. These two mistakes resulted in a happy medium. The lower mash temp resulted in a more-fermentable wort. The extra volume allowed the gravity to stay under 4% ABV.

The End Result

I love the end result. Shortly after bottling, I wasn’t sure I cared for the flavor. The chinook hops seemed a bit harsh. However, I think it may have been a conflict with the priming sugar not being completely fermented out.

It has been three weeks and the beer is really good and very drinkable. As you can hopefully see from the picture, the head is a brilliant white color and the beer is a pale golden color. It may be slightly darker than a light American lager, but not much. I may have to pick up a container of a light beer for comparison.

This isn’t my first recipe, but it was much-needed to deal with the summer heat. What types of beer do you like to brew for summer? Let me know in the comments.

Unexpected Bounty Leads to Homemade Wine

Discovery

When you buy a house in the middle of winter, you take a lot of things on faith: the yard will look reasonably similar to the features of the snow; the buried section of roof will look somewhat like the portions visible under the eaves; and there will be some things you never expected.

More Rhubarb than a family can use? Or wine-in-waiting?We closed on our new home in February, intrigued by what was lurking beneath the snow. Little did we know there was a trophy-class rhubarb garden. With 14 plants in one section and a lone monster guarding the other side of the yard, there was more rhubarb than our family of four could eat.

All that rhubarb called out to be used, but what could we do with it? In order to make rhubarb enjoyable, you must use so much sugar we were tiring of the sweetness. Plus, that much sugar adds to the waistline.

I Can Ferment That

Rhubarb to prepareLast year I purchased the Winemaker’s Recipe Handbook from my local homebrew supply shop. Armed with that recipe, some tips from Beverage Artisan and a whole mess of rhubarb, I set out to make some rhubarb wine.

I merged the recipe from the book with some tips from Doug to develop my own homemade wine recipe. Never having made wine before, I have no idea how this will turn out, but the must smells awesome!

Recipe

Ingredients

5 lb 4 ounces of rhubarb

4 lb sugar

1 teaspoon citric acid

1/2 teaspoon tartaric acid

1/4 teaspoon tannin

1 gallon water

1 Campden tablet

1 teaspoon yeast nutrient

1 Camden tablet, crushed

Process

I lined a 20-quart stainless steel pot with a straining bag.

After chopping the rhubarb into approximately 1/2″ lengths, I realized he chunks were too large to allow all of the good flavors to make it into the water quickly. So I ran the rhubarb through the food processor with the steel blade attached, but stopped while there were decent-sized chunks.

I added all of the ingredients except the water, Campden tablet, nutrient and yeast inside the bag and stirred with a stainless steel spoon.

Holding back 2 cups of water, I added the remainder of the water to the kettle.

I added the yeast nutrient to 2 cups of water and heated in the microwave until boiling. I crushed the Campden tablet and added to the hot water, stirring until all material from yeast nutrient and Campden tablet were dissolved.

Placed lid on pot, with edge raised to allow off-gassing of Campden tablet.

Wait 24 hours, then pitched 1 packet of Montrachet yeast proofed in 1 cup warm water. Stirred must to incorporate yeast and continue mixing ingredients.

Stir daily for 1 week using a sanitized stainless steel spoon.

Squeeze the strainer bag to extract as much flavor and liquid as possible. Transfer to glass carboy for extended primary fermentation. I am at this stage as I write this article. I will have to follow up in a few months once I see how it turns out.

Rack as needed to clarify.

I plan to try some other fruit wines when I have the fruit & the time. What do you think of rhubarb wine? Let me know in the comments below.