A Great Way to Cool Off

Wisconsin weather in spring 2013 has been out-of-season, to say the least. A blizzard on May 2 & 3 capped off a long, drawn-out spring thaw. The weather didn’t really warm up until June. But now that it’s warming up, the humidity is making up for what the heat didn’t do earlier in the year.

Setting up to make cream sodaOne of my wife’s favorite drinks is my homemade cream soda. It’s so good I decided to call it “The Myth”. OK, I’m actually naming it that because I don’t make it regularly. When I started brewing beer, I told Brandy I would make her a batch of cream soda every time I made a batch of beer. Well . . . let’s just say I owe her several batches of cream soda.

Lots of great things about this cream soda recipe:

  • You can knock a batch out in about an hour and a half. Less, if you’re more organized than I am.
  • There’s little to no alcohol in this beverage, so you can share it with your kids. (It is naturally carbonated, so there is a small amount of alcohol).
  • No hops means it’s a great use for those clear bottles you’ve got laying around.
  • Natural carbonation adds its own flavor to the beverage.

The Myth

Ingredients

  • raisins and cinnamon
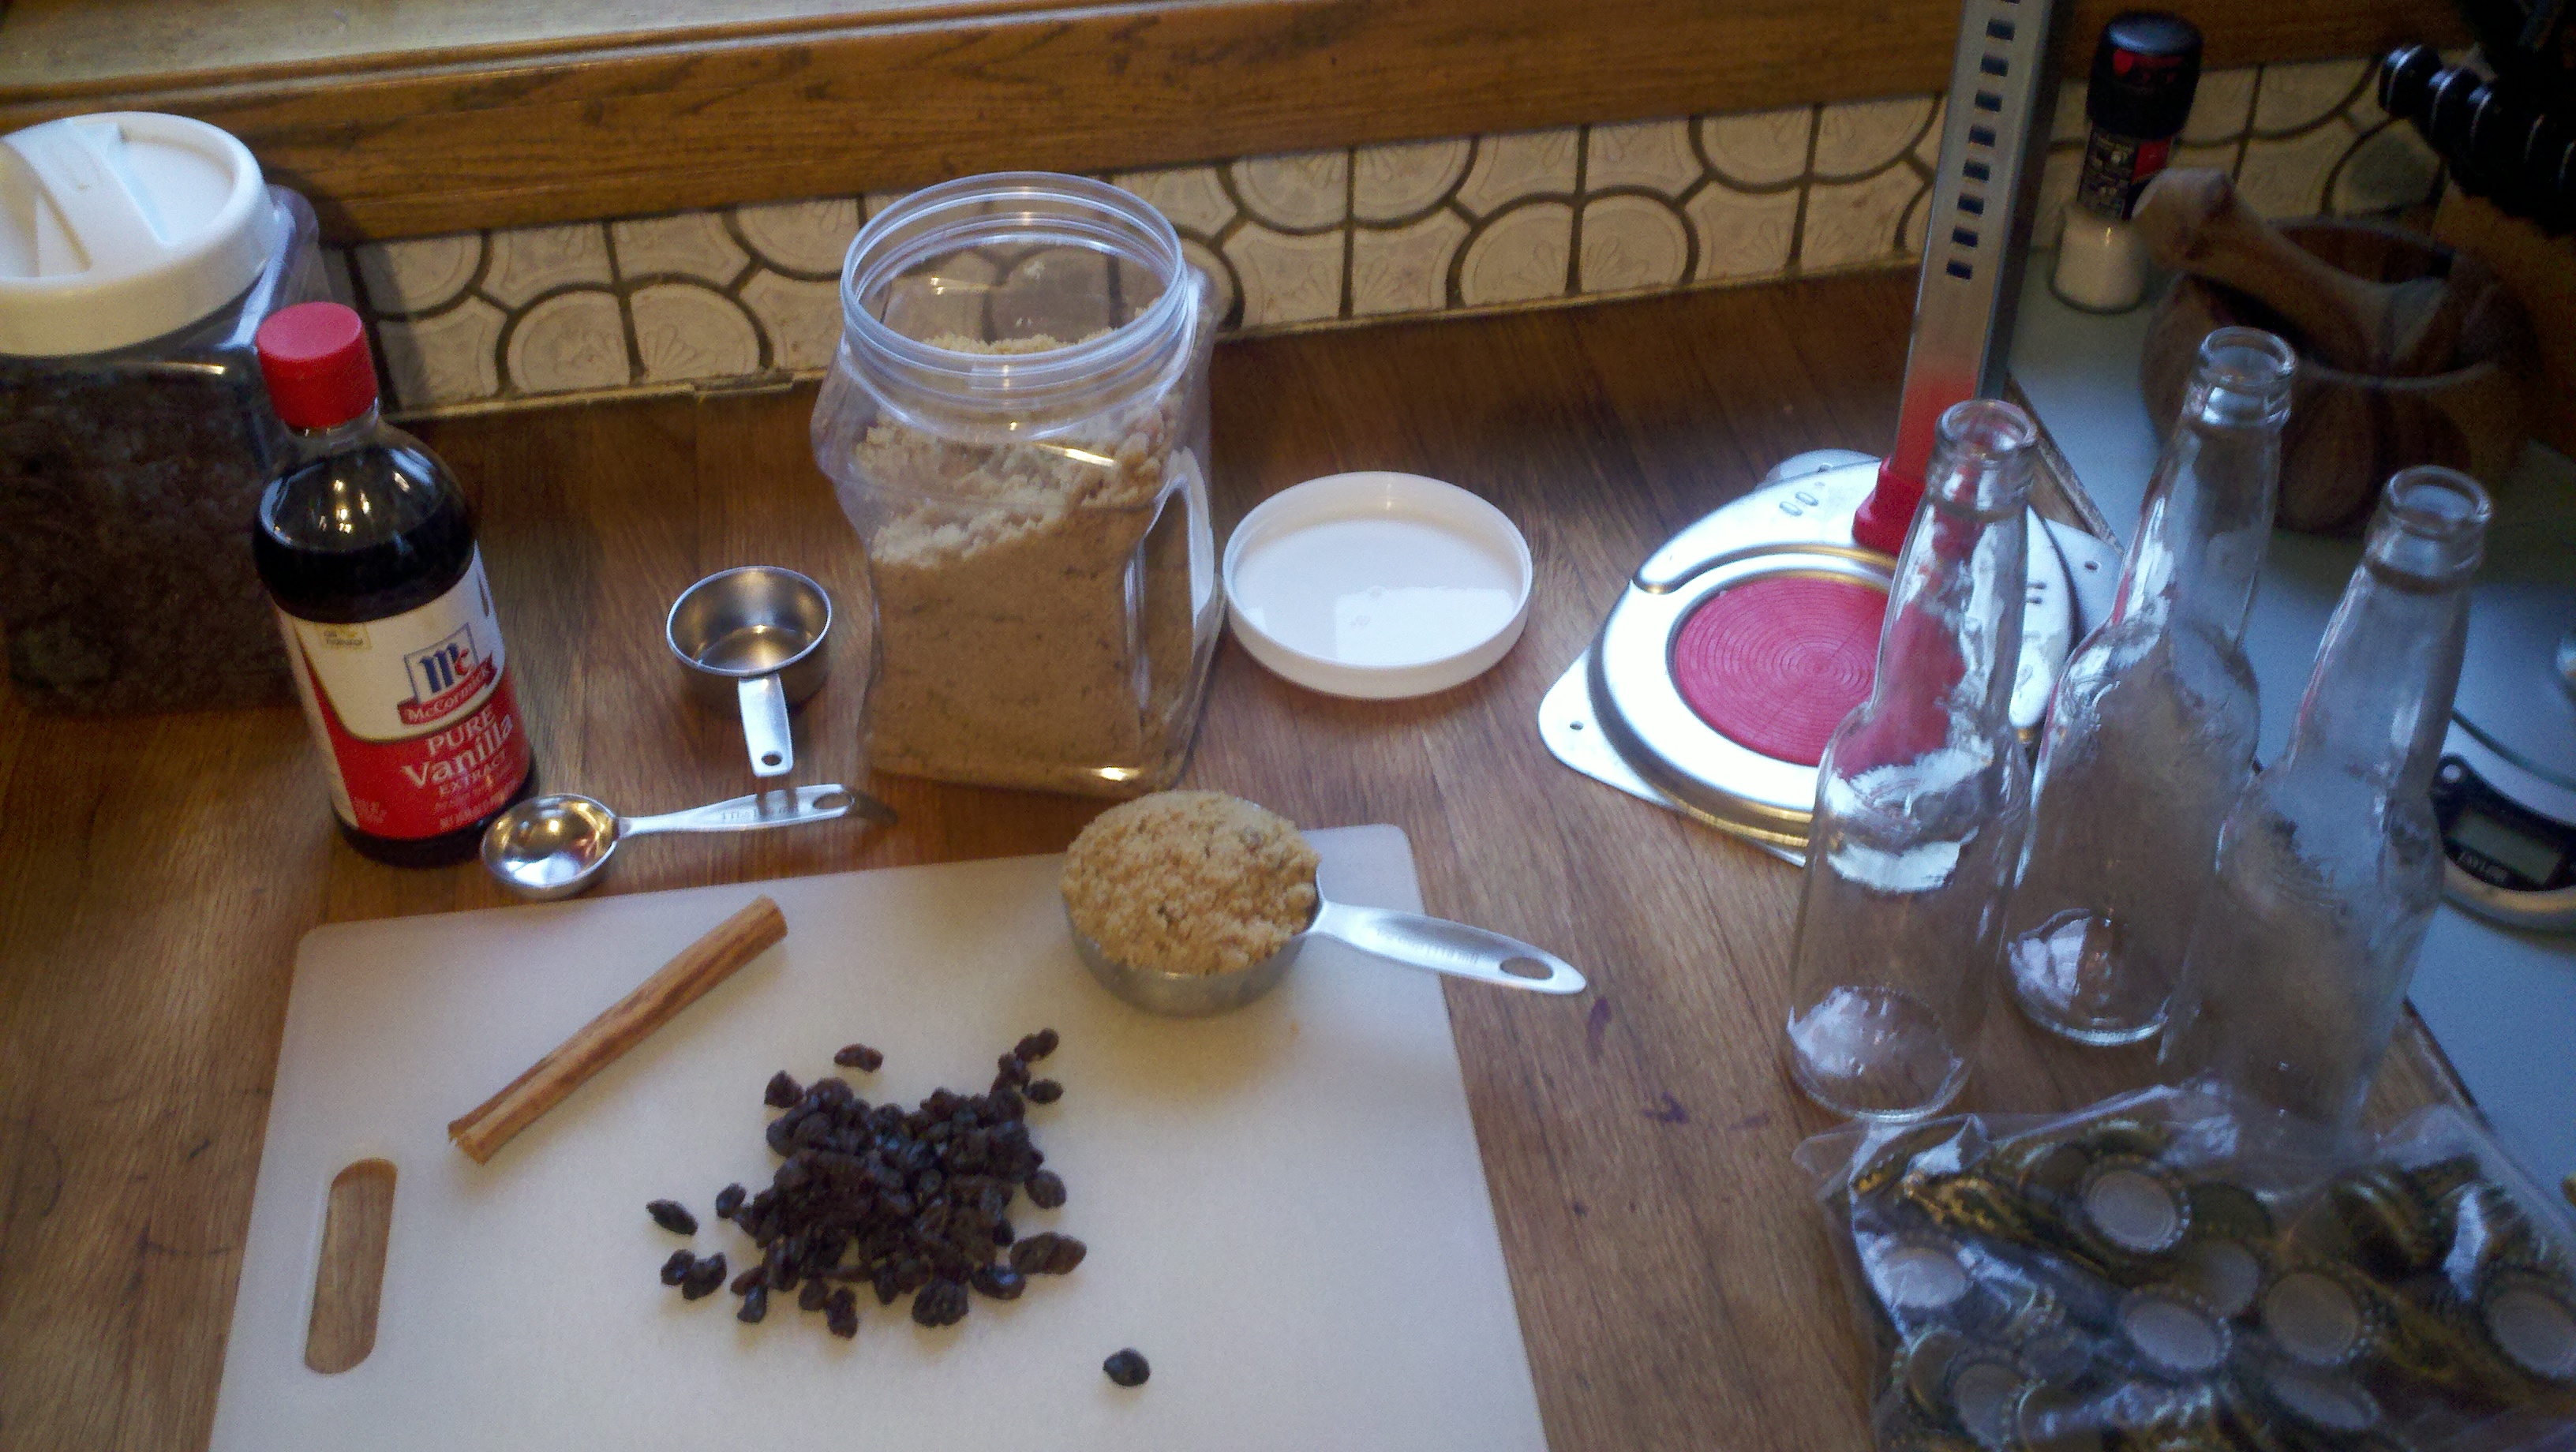
rounded 1/4 cup raisins, chopped
  • 1 stick Penzey’s Ceylon Softstick Cinnamon, crumbled
  • 1 and 3/4 cup brown sugar, gently packed
  • 1 tablespoon vanilla extract
  • 1/4 teaspoon ale yeast (proofed in warm water)
  • 4 quarts water

Method

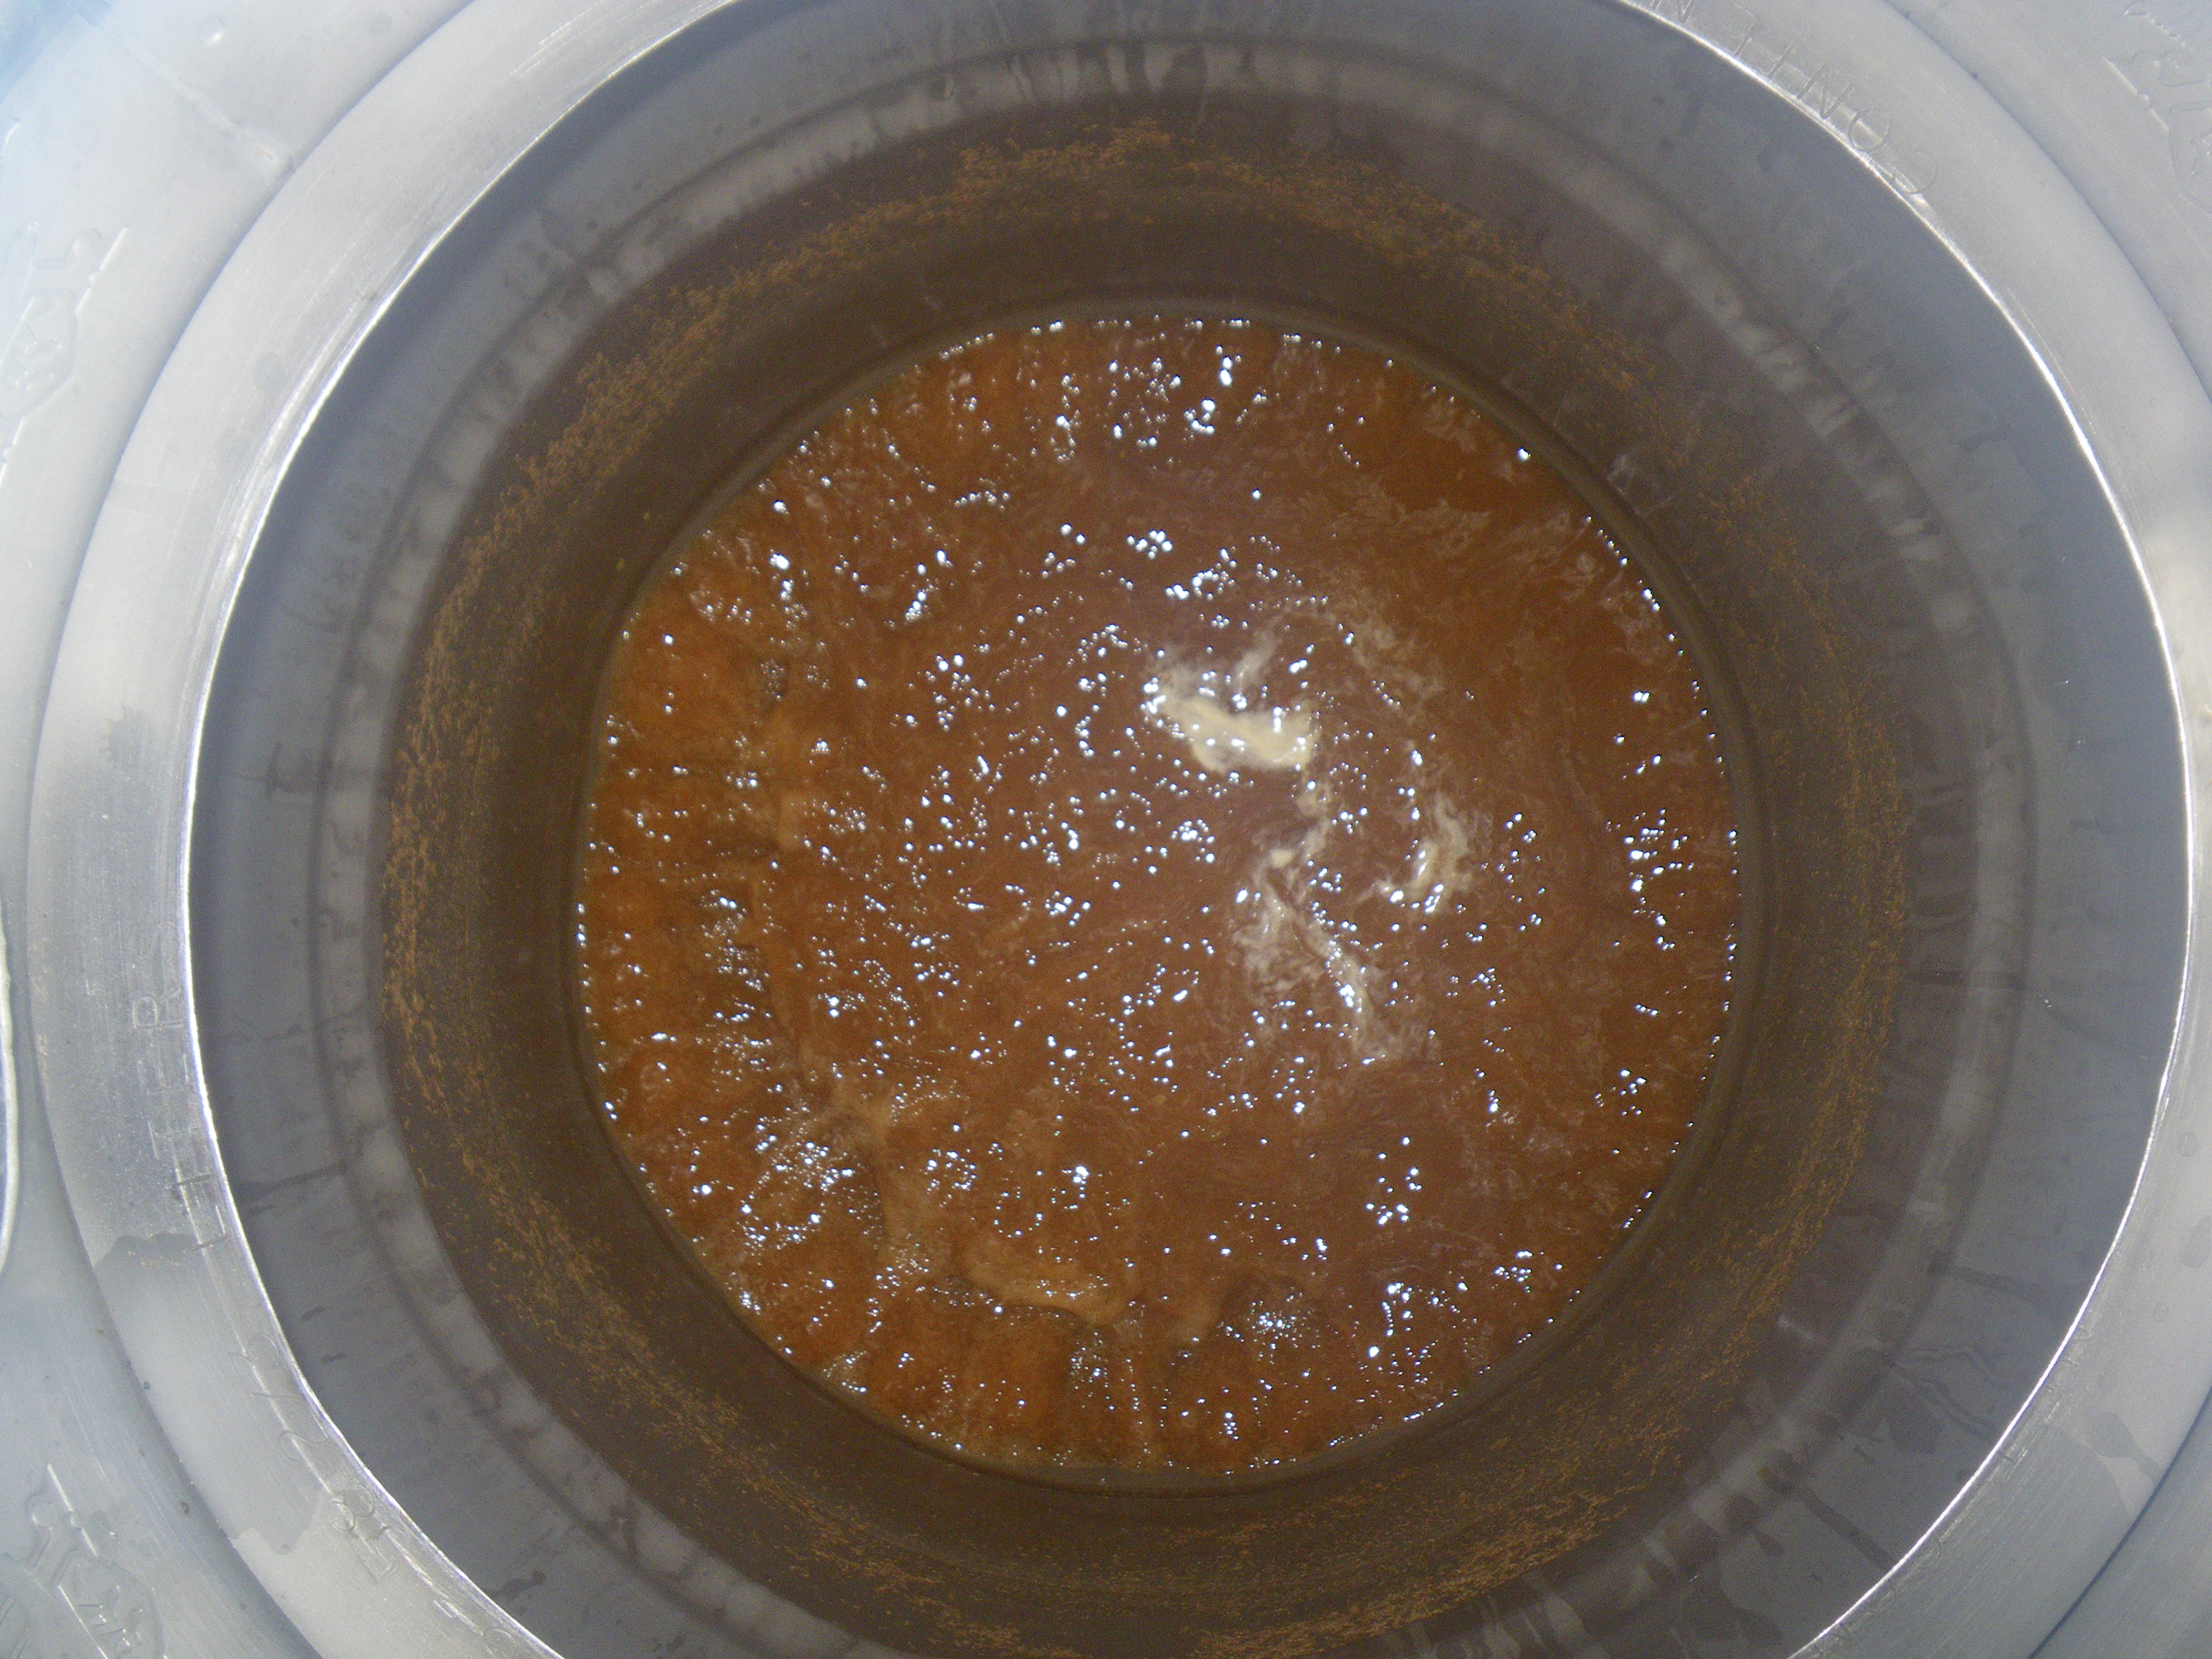
  1. Put brown sugar and two quarts of water in a pan and start heating the water.
  2. Loaded sack
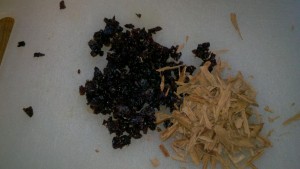
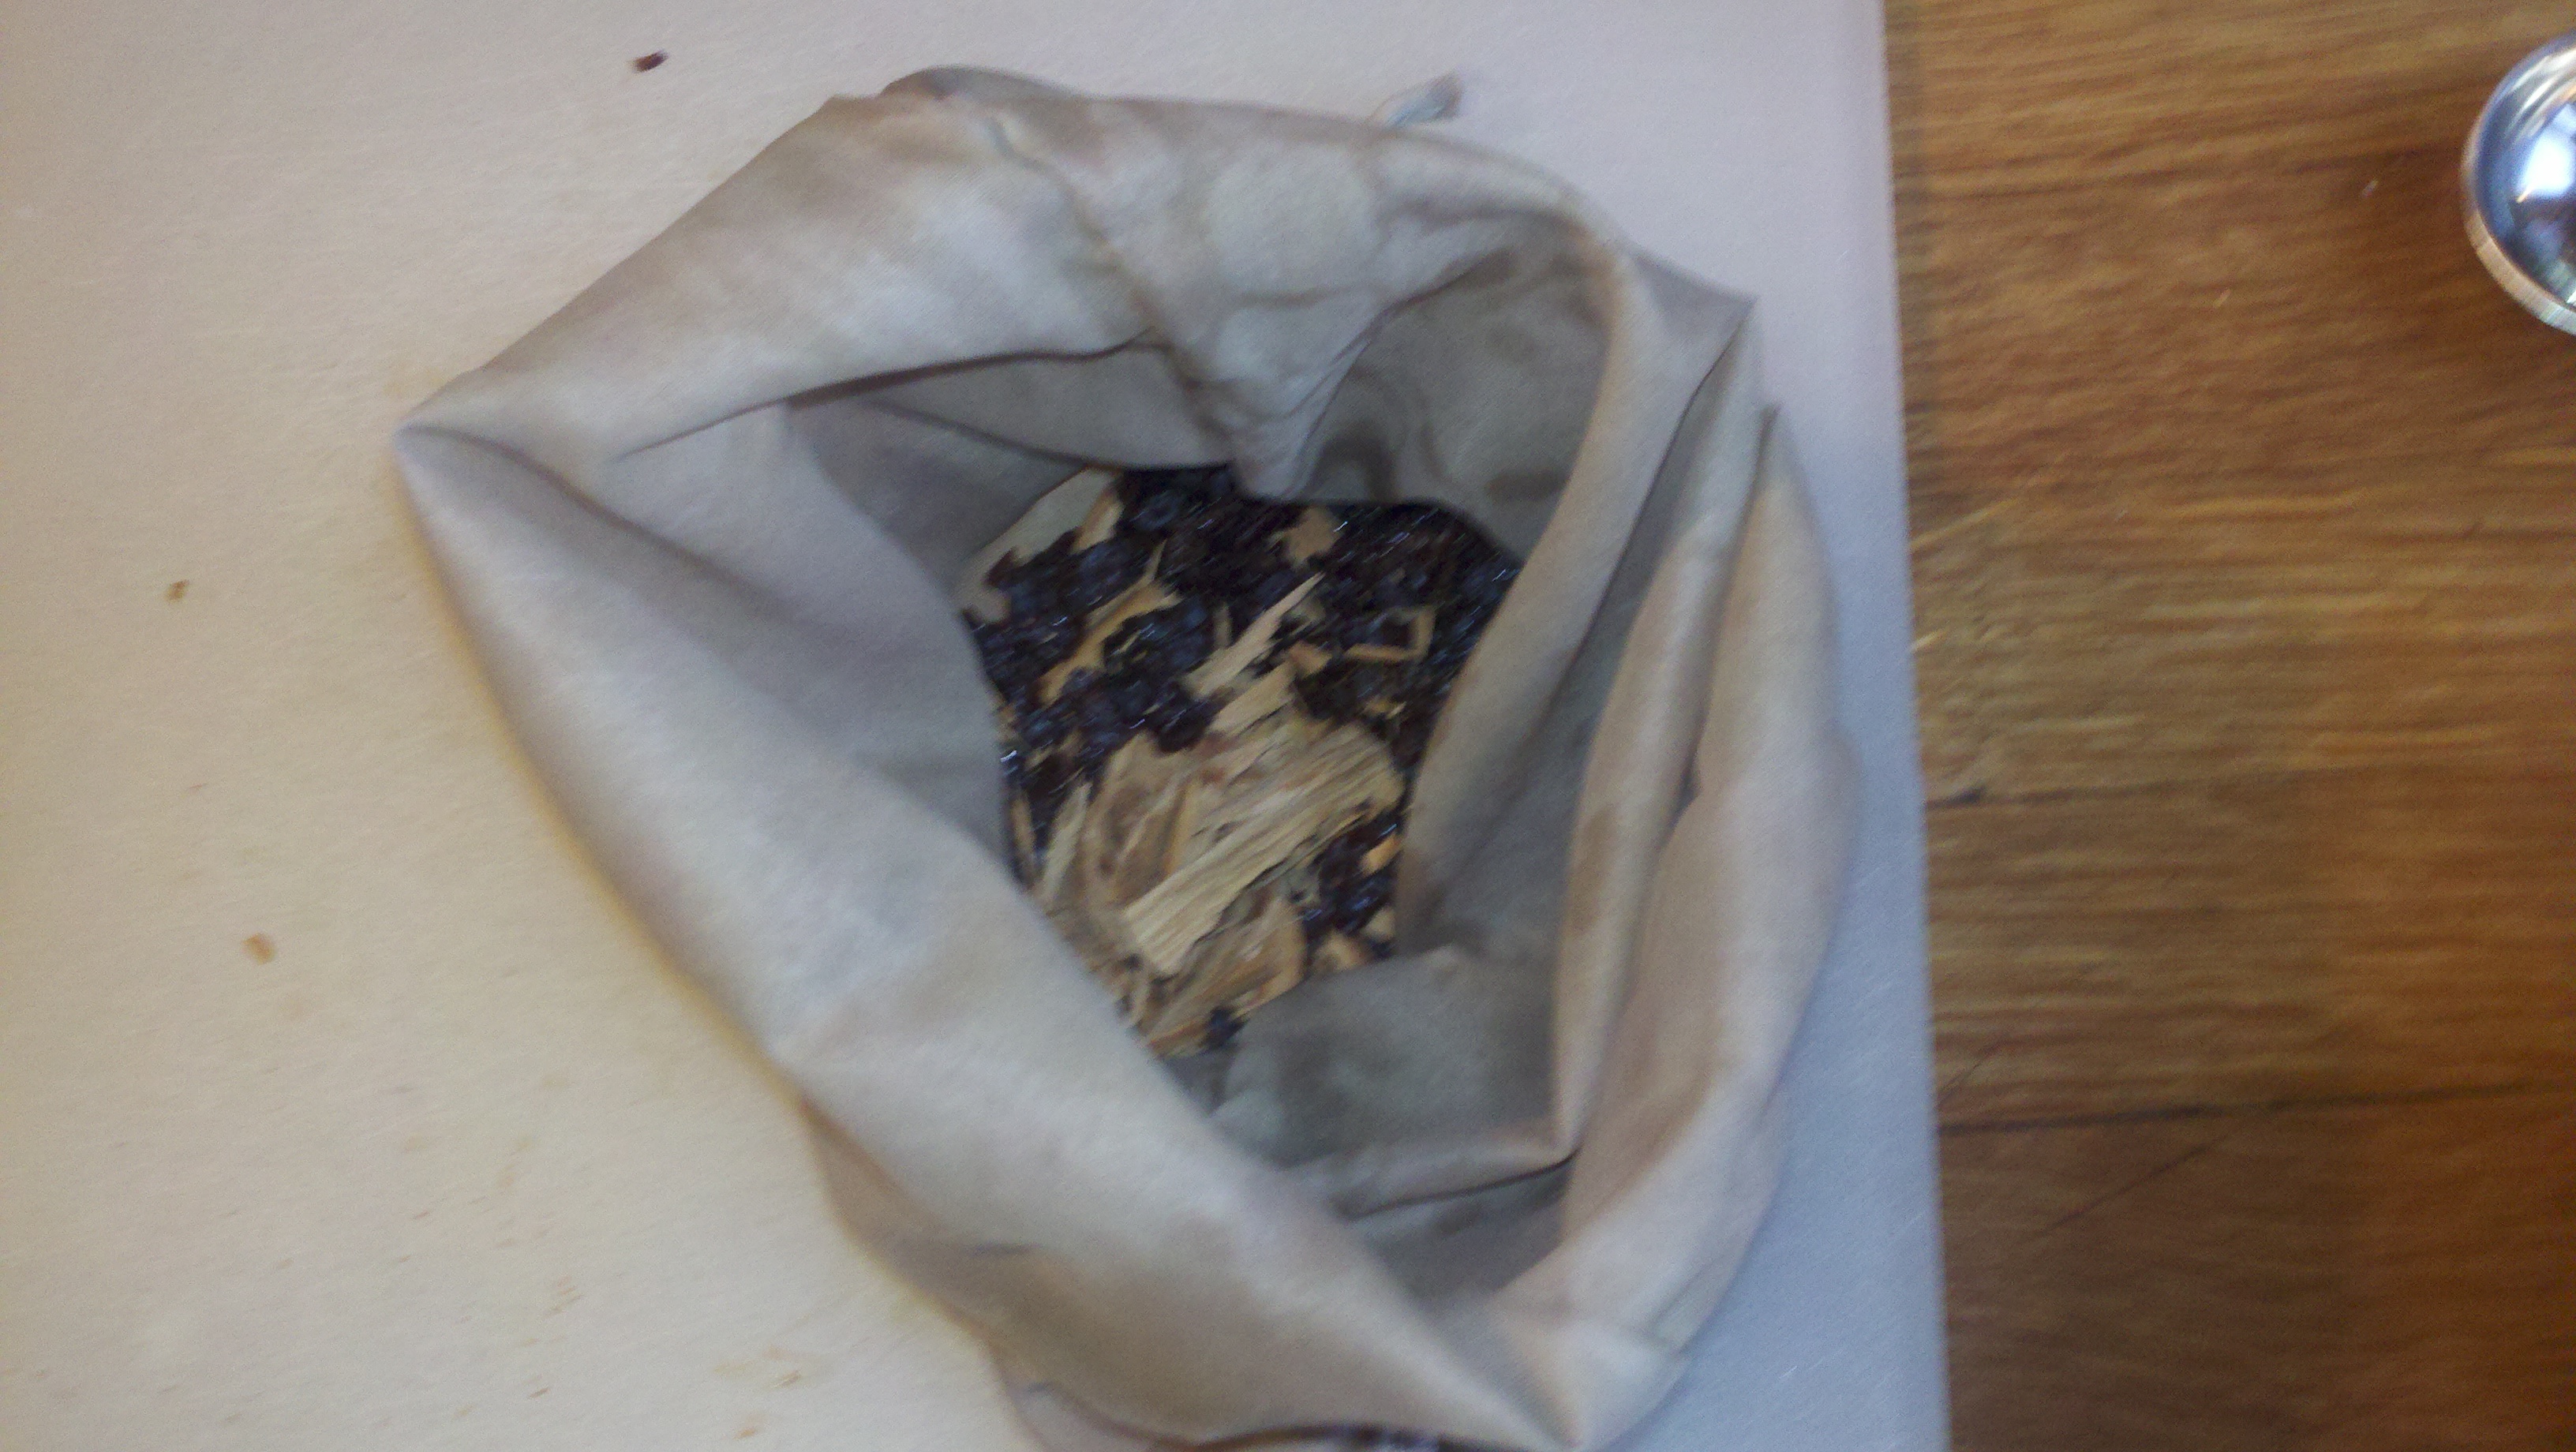
Chop raisins and crumble cinnnamon stick. Place in a food-safe mesh bag made to be boiled. I use a hop sack.
  3. Place sack containing raisins and cinnamon in the pan and bring to a boil.
  4. Boil for 10 minutes. If you have time, a longer boil will bring out more of the cinnamon flavor. Experiment and find what you like.
  5. Place the yeast in a small cup with warm water to begin proofing.
  6. Sanitize twelve 12-ounce bottles and a one-gallon container.
  7. Add one quart of cold tap water to the one-gallon jug.
  8. Add vanilla extract to the jug.
  9. Cover the pan after removing it from the heat and place in a cold water bath to speed cooling. If you are in a rush, you can add ice cubes to the liquid.
  10. Once cooled, squeeze the bag to extract the liquid from the raisins and add to the jug. Top up the jug to one gallon with cold tap water.
  11. Fill the prepared bottles (I usually end up with about 10.5 – 11 bottles) and cap with crown caps.
  12. Place in a warm location for 3-5 days depending on temperature. Warmer locations mean less time to carbonate.

Notes

I recommend the Penzey’s softstick cinnamon because the flavor is so much better than the standard “cinnamon” you get in the grocery store. The flavor is smooth, yet intense. The sticks are soft and easy to crumble, so you don’t need any special equipment to break the sticks down.

I do not worry as much about contamination when I make homemade soda. We usually drink it within two weeks, so there isn’t really time for bacteria to take hold. As a result, I did several things I would never do when making beer: using ice to cool and dilute the liquid, allowing the sanitized bottles to stand on the counter uncovered and using straight-from-the-tap water to dilute the mixture.

WARNING!!!

There is a serious risk of exploding bottles. If you do not chill the bottles once you reach your desired carbonation level, the yeast will continue to digest the sugars and build pressure within the bottles until they explode.

I Should Have Bought a Blichmann

Blichmann Burner towers over Bayou Classic“Dude, I hate to tell you, but you must have dropped off your burner at my neighbor’s house. I have no idea where it is.” A grin split my face as I typed the last sentence in to Google Chat. I had just finished brewing a five-gallon batch of stout using my friend’s Blichmann Floor Standing Burner. As I closed the chat window, I knew I was going to have to load up the burner and bring it back to Andy’s house.

After brewing one batch, I wished I had waited to buy this burner and leg extensions rather than rushing into buying the burner I’ve used for two years.

Settling for What Seemed Good

Banjo BurnerWhen I decided to start brewing all-grain, I knew I was going to need a big burner. After much research, I was seduced by the Bayou Classic KAB4; its high BTU output along with mid-range price convinced me it was the perfect fit.

I planned to upgrade to ten gallon batches quickly, so I knew I was going to need lots of BTUs to achieve and maintain a good boil. I learned the primary design flaw of this burner: there is too much distance between the burner and the kettle support.

The distance between burner and kettle support caused two different problems. The most obvious is simply the amount of heat lost due to the kettle being four inches above the burner output. In order to try to make up for the lost heat, I run the burner at as high a flow rate as possible. This causes the fuel to be consumed so fast I have frozen my lp tank to the ground, while creating enough ice on the tank to stop the lp flow. Even after adding the aluminum shielding seen in the picture above, it takes a long time to bring even five gallons to a boil.

Side-by-Side Batches

The day I used my friend’s Blichmann, another friend was using my burner to brew a five-gallon extract batch. My burner took ten and a half minutes to transition from a simmer to a full boil. The Blichmann powered through that transition in the matter of two minutes. If you’ve brewed enough, you know the signs as your wort nears the boil: thick, fine foam on the surface; hissing from the bottom of the kettle; and a rise in the level of liquid in your pot.

The LP tank attached to my burner had a solid layer of frost glittering at me by the time we transferred my friend’s summer ale into his fermenter. Even though I was boiling a larger volume of liquid, the Blichmann did not need to have as high a flow-rate to maintain the boil. As a result, the tank did not ice over and the boil was more consistent.

Why It’s Awesome

The Blichmann burner has a much more stable kettle surface than the burner I purchased. Boiling in a converted keg allows me to brew a wide range of batch sized. Unfortunately, the supports on my burner are the same width as the collar on the bottom of the keg. As a result, I have to make sure my kettle is placed precisely so it doesn’t tip off the side of one of the supports, while the Blichmann has adjustable supports on each leg of the burner. This allows you to support kettles up to 21 inches in diameter.

Blichmann Burner is close to the bottom of your kettleHaving the burner close to the kettle support allows the heat created to go directly to the bottom of the kettle, rather than escape into the atmosphere. The well-designed shroud protects the flame from wind gusts and provides approximately 72,000 BTU/hr.

Finally, the burner leg extensions are a must-have. Whether you siphon from your brew kettle or use a ball valve transfer the liquid from your kettle, these leg extensions bring your kettle up to a comfortable working height. With the ball valve on my kettle, I would be able to drain directly into my 15-gallon plastic fermenter without the need to move my kettle.

Currently, I have to live about 13 gallons cooled wort along with the weight of the kettle and the chiller to a higher platform before draining into my fermenter.

Do yourself a favor and buy this burner and the leg extensions for your home brew setup. This will be one of my upcoming purchases.

The Best Beer I Made

A nice rolling boil going.I had two people highly prase this recipe. One was my father in law, who said something to the effec to, “I didn’t know a pale beer could have flavor.” The other was my brother, who said this was one of the best beers I had made yet. Both comments made me feel pretty good.

The recipe below is one I created on my own, after listening to an interview with Mitch Steele. talking about his new book about India Pale Ales. During the interview, Mitch talked about the fact that the earliest versions of IPA were brewed without crystal malts, so I developed this recipe using only base malts and the hops I had available.

This IPA may not be bitter enough for some of you, but I enjoy it. It has a balanced bitterness, with a strong hop flavor and aroma. The citrusy, grapefruit pith flavors are offset by the warm, bready malt flavors. There is enough sweetness to make a bomber go down easy.

Pouring this beer can be a bit of a challenge. The “problem” is the lingering head. This is an all-barley beer, so I can’t blame wheat malt or oats or any of the other grains usually used for head-retention. Nearly the consistency of whipped cream, the head keeps building after I stop pouring. Even with a really careful pour, I usually have to slurp foam from the top of the glass at least once during the pour.

And now, on to the recipe!

K.I.S.S. IPA (Keep it Simple, Superbrewers!)

Grain waiting for the mash so it can be turned into wort.Malt

25 lbs Rahr 2-row

3 lbs Vienna

3 lbs Munich

Hops

60 minute addition

2 oz Magnum – 13.5% AA

15 minute addition

1.3 oz Cascade – 4.6% AA

1.4 oz Centennial- 8.7% AA

0 minute addition

1.4 oz Centennial – 8.7% AA

1.2 oz Chinook – 11.7% AA

I mashed the grain at 150 degrees Fahrenheit for an hour, and batch sparged to reach a boil volume of 13 gallons. With boil off, I wound up transferring just over 11 gallons into my fermenter. I pitched 2 packets of Danstar/Lallemand Nottingham ale yeast.

Original Gravity: 1.062

Final Gravity: 1.008

Alcohol by Volume: 7.2%

I bottled this beer 1 week before our club competition in November. It did not have time for the yeast in the bottle to consume all the priming sugar, so it tasted a little weird. After an additional week in the bottle, it was so good I was disappointed every time I reached the bottom of my glass.

In fact, I blew through the entire 10 gallon batch by New Year’s. It was one of the beers that has been the most fun to share.